I've been wanting to link up with Tara over at 4th Grade Frolics for awhile now. But with a 2 month old baby, I can't get things done as quickly as I once did. I wouldn't trade a minute of it though and I'm trying to soak up as much time with her as I can before the back to school craziness starts.
Anyway, back to my reason for this post ...
After reading Jodi's post over at the
Clutter-Free Classroom about how she sets up her
teacher binder, I was inspired to work on creating mine. Every year I change mine around a little bit. Last year I actually had two separate binders, one with everything I needed to help with planning and one with my student data, parent communication, schedules, etc. This year I tried to consolidate things by putting it all in one binder.
I've read many posts by different people about the different sections they make in their binder. You have to figure out what works for you. These are the sections I came up with:
- Calendar
- Weekly Lesson Plans
- Pacing Guides
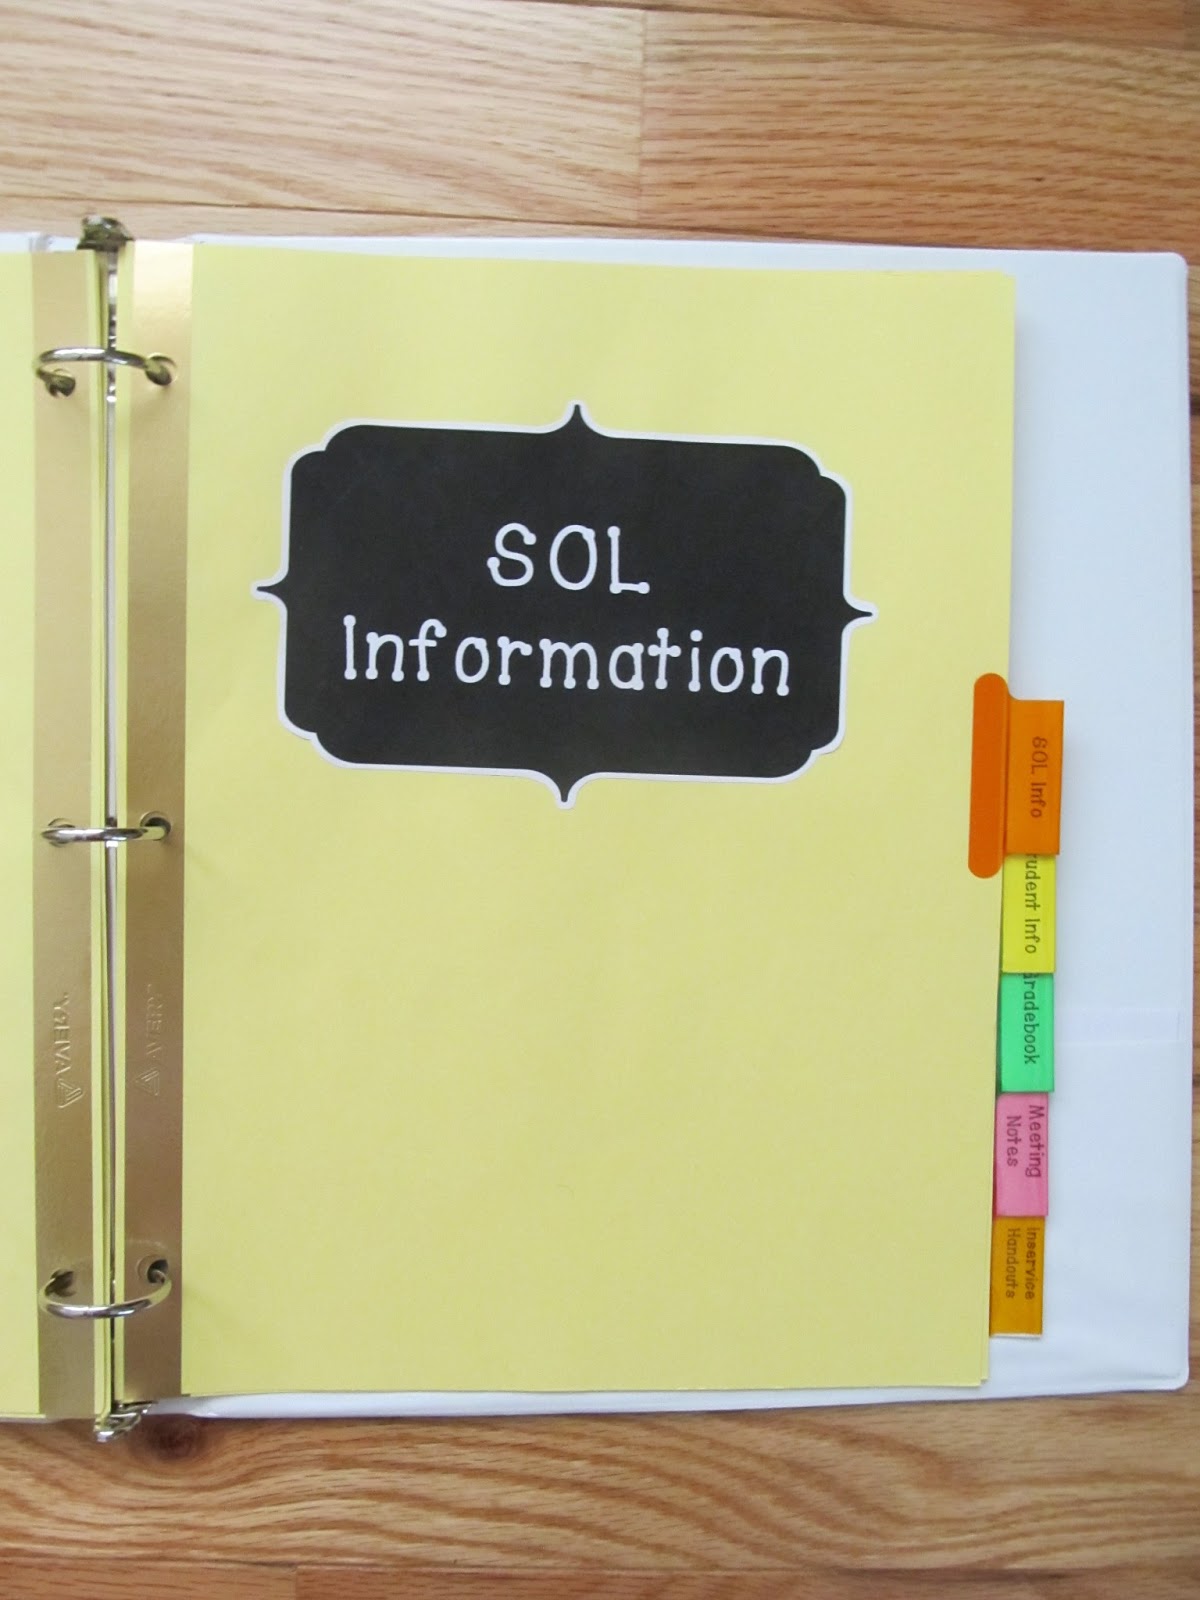
- SOL Info
- Student Info
- Gradebook
- Meeting Notes
- Inservice Handouts
(I tried to dress up the dividers a bit and make them prettier by adding a decorative label to the divider page. )
Calendar -
This year I made my own
monthly calendar so that I could spread each month out over two pages. I write fairly big and last year I ran out of room if there were more than two things I needed to write on a certain date. When I created it, I made the Sunday boxes a little bigger so that I can write in things I need to complete that week.
Weekly Lesson Plans -
I usually create my lesson plans on the computer, but I'd like to have somewhere to keep them once I have printed them out.
Pacing Guides -
We have district-wide pacing guides for Math and Reading/Language Arts. I like to have them easily accessible when I'm working on my lesson plans.
SOL (Standards of Learning) Info -
Here in Virginia we haven't switched over to Common Core. We still have SOLs that we follow. I also like to have these easily available when planning.
Student Info -
This is where I will keep the parent surveys that I send out at the beginning of the year, lists with the students' ID numbers, birthdays, and any other information that I might need.
Gradebook -
We've been using an online gradebook (PowerSchool) for the past four years, but I still like to have a paper gradebook. This is helpful if I'm grading papers and I'm somewhere that I don't have immediate access to a computer. I also like to have a backup in case something happens and grades get lost.
Meeting Notes -
Let's face it, it wouldn't be teaching without meetings. I like to have a place to keep all my notes so that I can refer back to them when needed.
Inservice Handouts -
Who hasn't been to an inservice and received a bunch of papers that you then don't know what to do with? What I like to do is to put all the pages into a page protector and then put a sticky note on the front with the name/topic of that inservice. That way if I want to refer back to something, I know right where to look.
I even made a label for the binder spine. Overall, I'm really happy with how my teaching binder turned out and I can't wait to start using it!
What sections to you like to have in your teaching binder?